crafts!!!
Crafted by:Ava and Bella
WELCOME
Welcome to the crafts page! On this page you will learn how to do many different kinds of crafts! HOPE YOU LIKE IT!
Important notice: If you want to add a comment, go to more, and then press on the comment page!!

Have a good summer!
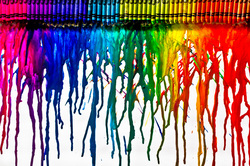
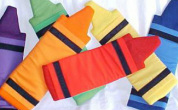
Crayon Wax Art!
How to do crayon art:
Step 1: buy a canvas and crayons
Step 2:hot glue crayons to the canvas
Step 3: after the hot glue has dried get a hair drier and blow on the crayons until they melt
Step 4: wait till the crayon wax has dried
Step 5: you are done!!
How to do crayon art:
Step 1: buy a canvas and crayons
Step 2:hot glue crayons to the canvas
Step 3: after the hot glue has dried get a hair drier and blow on the crayons until they melt
Step 4: wait till the crayon wax has dried
Step 5: you are done!!
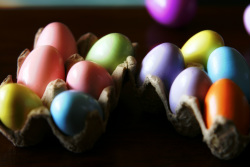
Easter Egg!
There is a really easy way you can do a Easter egg craft... A way you can do it is you can get a dozen (12) eggs then get different colors of die in a bowl then dip your eggs in! You can also put your eggs in a cute basket! If you want to add some frill to your egg basket, add some paper mashie, or strips of paper.
There is a really easy way you can do a Easter egg craft... A way you can do it is you can get a dozen (12) eggs then get different colors of die in a bowl then dip your eggs in! You can also put your eggs in a cute basket! If you want to add some frill to your egg basket, add some paper mashie, or strips of paper.
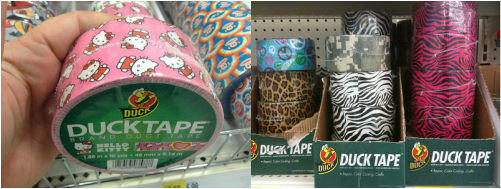
Duck tape art!
What you are going to do is you are going to go to your local craft store and find some awesome sauce duck tape (get about 3-5 rolls of
What you are going to do is you are going to go to your local craft store and find some awesome sauce duck tape (get about 3-5 rolls of
If You would like to see how to do origami or rainbow looms visit our drop down menus!!
Since our voters said that they liked CRAYON MAKING the best we will show you how to do it!!
CRAYON MAKING
*preheat your oven to 120-147
1.first you will decide which shape and color(s) you want your crayons to be
2. next you will need to find an ice tray that is the shape that you want it to be
3.then you will need to find some crayons that are the color that you want your crayons to be
4.now take the paper off of the crayons
5.Now you will need to break the crayons into small pieces that will fit in your ice tray
6.next put the crayon pieces into the ice tray
7.you will now need to put the ice tray in the oven
8.once the crayons melt take them out of the oven
9.Now you will leave them in the freezer overnight
YOU ARE DONE!!
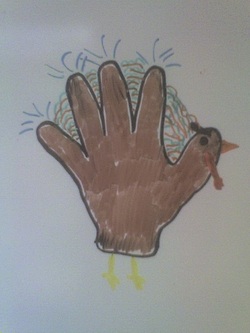
Thanksgiving Craft
Step 1: Get a sheet of paper, marker (different colors)
Step 2: Get your marker and put your hand on a sheet of paper
Step 3: Now trace your hand with a black marker and cut your hand out
Step 4: Now add your gobble and other stuff you would like to add
Step 5: Make shore you make your turkey as colorful as you would like
Step 6: Have fun! :)
Click on the buttons below to go to our origami page or the rainbow looms page!!
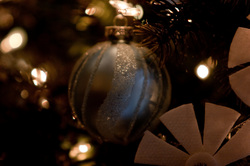
How to make a tie dye ornament for your Christmas tree
This is a fun and festive way to personalize your Christmas tree! To make your ornament read the directions below.
Materials:
Directions:
1.With your crayons and scissors scrape off little shavings of the crayons
2.Put your crayon shavings into the glass or plastic ornament
3.Take the hair drier and blow on the ornament on medium or high level
4.You can tilt the ornament , so the melted crayon wax will move into other places of the ornament.
5. once the crayon wax has melted all the way you can turn off your hair drier
6. let the wax dry and once it has...You are done!!
This is a fun and festive way to personalize your Christmas tree! To make your ornament read the directions below.
Materials:
- One clear glass or plastic ornament
- Colored crayons of your choice
- scissors
- hair drier
Directions:
1.With your crayons and scissors scrape off little shavings of the crayons
2.Put your crayon shavings into the glass or plastic ornament
3.Take the hair drier and blow on the ornament on medium or high level
4.You can tilt the ornament , so the melted crayon wax will move into other places of the ornament.
5. once the crayon wax has melted all the way you can turn off your hair drier
6. let the wax dry and once it has...You are done!!
Craft Of The Month:
*The craft will change about once every month!*
Push Pop Pencil Treats!! (they are made of cake)
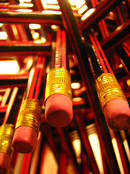
You are probably wondering why I am posting a recipe for pencil push pop treats, since this is the CRAFTS page! Well, cooking is considered a craft, as the definition of the word craft is:an activity involving skill in making things by hand! These treats are a fun and easy way to jazz up any lunchtime meal! Since we already have a Cooking page on the Cougar Chronicles, we will only post a few really cool recipes! Read the instructions below to learn how to make this awesome craft/recipe! I got this recipe from bakerella!!http://www.bakerella.com/pencil-pushers/ Now it is time to get started!!
Materials:
Materials:
- 6 plastic push pop containers (that means you will make 6 push pops)
- Vanilla cake batter (push on the button below to learn how to make vanilla cake batter)
- Red, yellow, and black food coloring
- 9x13 inch pan
- 6x8 inch pan (or something close to 6x8 inches)
- An oven
- a small round bread cutter
- Ghiradelli chocolate chips (milk chocolate or dark chocolate)
- lots of white frosting (1 or 2 cups)
- a spoon
- A non serrated knife
Instructions for push pop pencil treats
1. First, you will need to make your vanilla cake batter
2. Then, divide your batter into thirds (3rds)
3. Now, pour 1/3 of the batter into a bowl and tint it pink, with just a few drops of red food coloring
4. Then, pour the leftover batter, 2/3, into another bowl and tint that yellow with food coloring
5. Next, pour the batter into a 9x13 baking pan or sheet
6. Now, bake for 18 minutes at 350 degrees
7. Let your masterpiece cool
8. Now make some frosting (or frosting from a can) and tint 1/4 of it gray with a few drops of black food coloring
9. Next, put your frosting in a ziplock plastic bag and

Read below to find out how to tye dye a T-shirt! ENJOY!
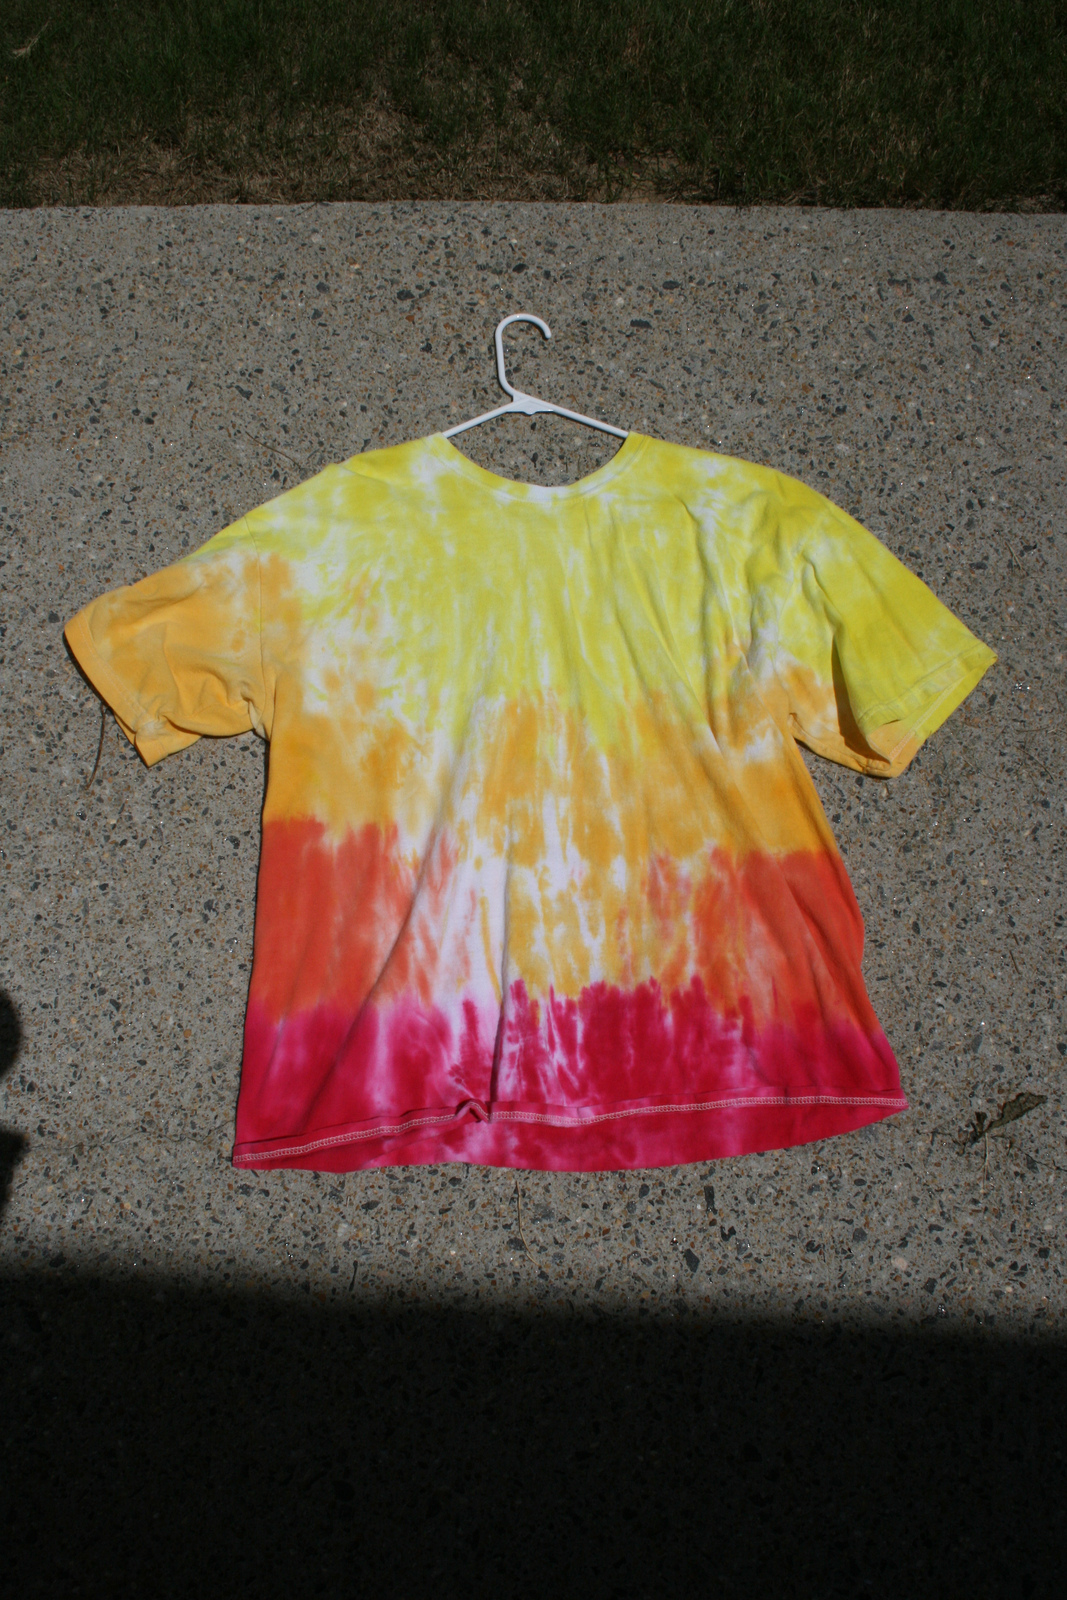
Tie die t-shirts!
I just love tie dying t-shirts and there is a lot of different ways to tie dye them, one way is to get a tie dye kit at Michael's the craft store! Another way to do it is to get a t-shirt (white) and rubber bands also to do the different colors any way lets get get into the steps!
Step 1.Get a white t-shirt
Step 2.Twist your white t-shirt and put your rubber band's
Step 3.Now get some dye, any color and put it in each spot where the rubber band
Step 4.And let it dry
And you are DONE! :)
If you would like some extra help, push on the button below!
